Renovating your house can be pretty exhausting, especially if it involves the bathroom. Removing old tiles and replacing them is messy and requires a lot of elbow grease. Understandably, you might be searching for an easier way of getting the job done. So, can you tile over existing wall tiles in the bathroom?
You can tile over existing wall tiles in a bathroom. First, you’ll need to assess the existing tiles. If they’re in good condition, clean and prepare the area for the new tiling. Spread the adhesive and lay the tiles in stages. Position them carefully as you go, then seal off your work.
Tiling over old tiles helps you to avoid the hassle and mess of tearing out the old tiles, and it does away with certain expenses altogether. Let’s get into the details of how it’s done and what to consider before you get started.
Can You Put New Tile Over Old Tile in Bathroom?
If your old bathroom tiles are still in relatively good condition — meaning they have no cracks, are evenly placed, and don’t appear to retain any moisture — you can put a new layer of tiles right on top.
Is Tiling Over Existing Tiles a Good Idea?
Before re-tiling a room, you must decide on the best method of doing so to avoid any inconveniences once you’ve already kicked off the process.
Tiling over existing tiles is one of the best ways to re-tile, and most people planning on renovating their rooms opt for it. However, there are several factors to consider before using this method.
To help you make an educated decision, here are the pros and cons of tiling over tile:
Pros
- Tiling over existing tiles is time-saving. This method is not only straightforward but will also save you from going through the trouble of removing the old tiles, installing the new ones, and spending the better part of your day cleaning afterward.
- This renovation technique is cost-efficient because it won’t require you to hire a renovation crew or rent heavy stripping machines that could cause more damage if you don’t use them carefully.
- It’s a DIY-friendly method and a great way to give your bathroom or kitchen space a nice refresh.
Cons
- Tiling over tiles often results in adding height to your floor. The new floor level may block doors or cupboards that align with the old flooring. If your tiles are in good condition, you could opt for a fresh layer of paint instead.
- The step to your bathroom entrance may get a bit higher and cause accidents. You could bang your toe a couple of times or, worse, trip and hit your head!
- This method requires that your existing tiles be in relatively good condition. Tiling over uneven or damaged tiles won’t spruce up your room. Instead, it will cause further complications and lead to more expensive repairs.
What’s the Best Adhesive for Tiling Over Tiles?
When choosing an adhesive for tiling over tiles, you need to pick a non-slip one, so that the tiles will lie on top of each other without sliding off. The best thin-set ceramic tile adhesive is the Roberts 5900-1 (on Amazon). It’s premixed, easy to spread, and dries quickly.
Another excellent option is the Weldwood multi-purpose ceramic tile adhesive (on Amazon). It’s strong, has a tacky texture, and works amazing over tiles.
You can consult a tiling expert or visit your local hardware store for proper guidance on how to use these adhesives and also to find out if you purchased the right products for your project.
How to Tile Over Existing Tiles
Tiling over existing tiles can be painless and fun as long as you have the right tools and materials for the job. Here’s what you’ll need:
- Dust mask (on Amazon)
- Safety glasses (on Amazon)
- Trowel (on Amazon)
- Gloves (on Amazon)
- Grout (on Amazon)
- Primer (on Amazon)
Once you have these supplies on hand, proceed with the following steps:
Step 1: Assess the Existing Tiles
Before you start tiling over the existing tiles, thoroughly inspect the base layer for any flaws that may cause foundational problems during the project. If you notice mildew and deep discoloration in the grout, it’s a clear sign of absorption issues. It means that trapped water has damaged the grout and could rot the new tiles from underneath.
Similarly, if you didn’t install your existing tiles properly, the new tiles won’t be in line or lie flat. So, if you spot any of these issues, it would be best to pull out the existing tiles rather than tiling over them.
Step 2: Prepare the Area for New Tiling
Use a vacuum cleaner to collect dirt and debris, then clean the tiles with water and detergent. Check for unevenness and level out any tiles that are out of place. You can apply a layer of primer to the old tiling and let it dry for a stronger bond between the two layers of tiles.
Step 3: Spread the Adhesive
Spread a flat layer of thin-set adhesive on the back of big tiles so they can stick better. If you apply a thin-set adhesive on the floor instead, use a trowel to spread it. Be sure to comb the adhesive in one direction despite the method you use.
Step 4: Lay the Tiles in Stages
Avoid rushing the groundwork. Just lay the new tiles one at a time, as the drying time may vary. Moreover, don’t waste too much time once you’ve applied the bonding agent, or it may dry before you install the tile.
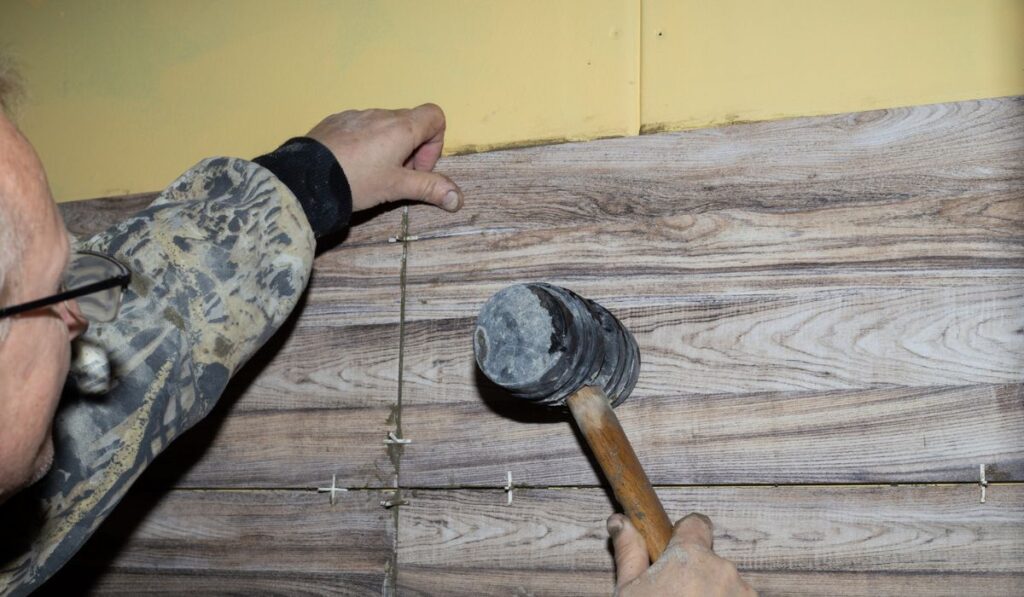
Step 5: Position the Tiles as You Go
Set each tile on the freshly-applied adhesive and press them firmly into place. Repeat the process until you finish placing all the new tiles.
Step 6: Seal Off Your Work
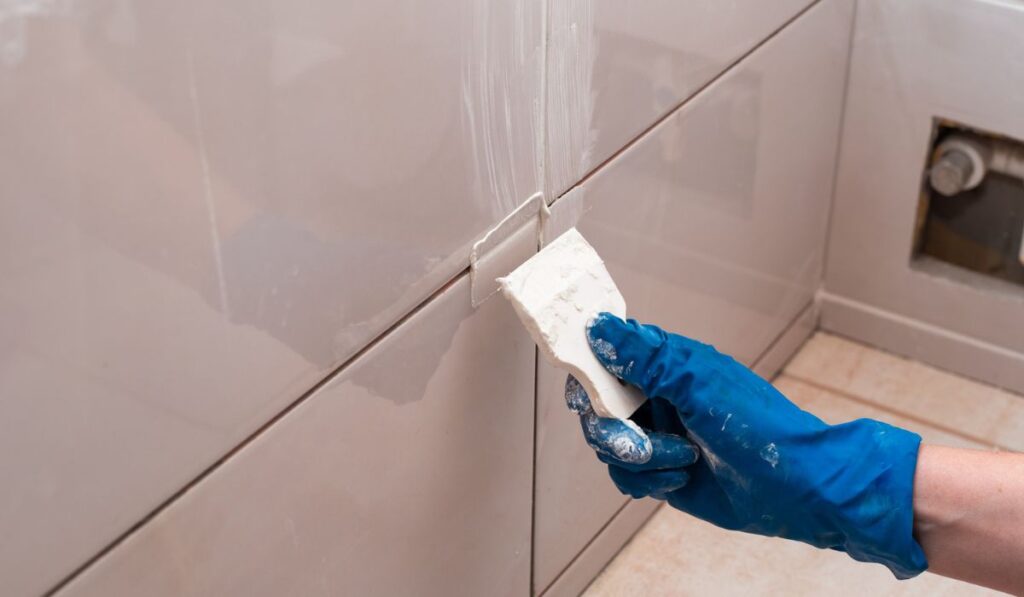
You need to apply grout in the grooves between the new tile layers no matter the type of adhesive you use beneath them. The grout protects the whole surface from moisture that could creep into the seams between each tile and lead to water damage or mildew growth.
If you want to finish things off quickly, use premixed grout from the hardware store and try applying it as fast as possible — in a single round, preferably.