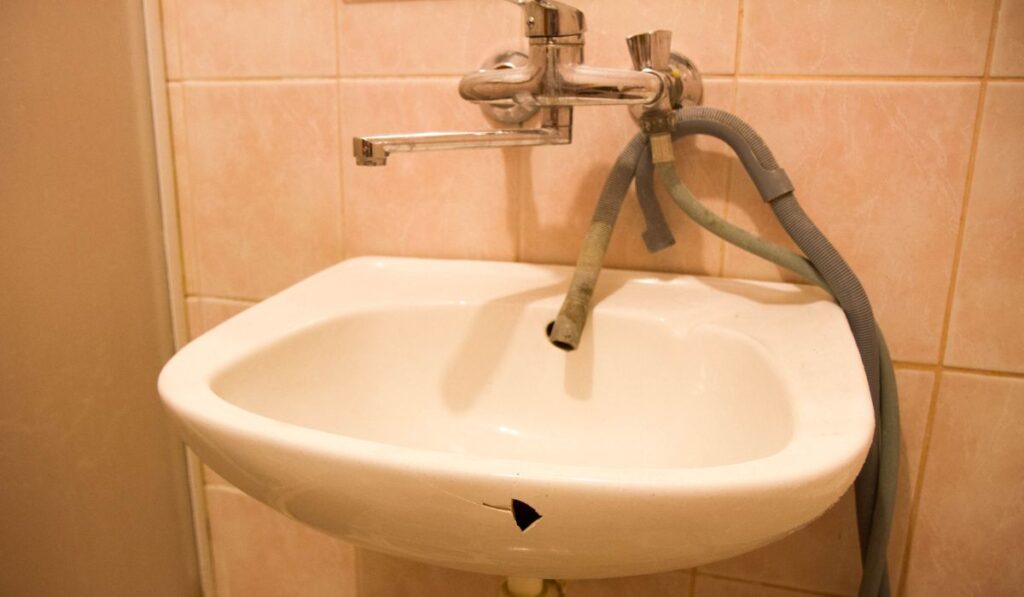
Irrespective of the sink material, bathroom sinks wear and tear gradually with constant use. If your sink basing suffers minor damage like chips or cracks, you can quickly repair it without the need to replace the entire sink.
To repair a porcelain or ceramic bathroom sink, start by cleaning the sink and sanding the damaged area. Then apply filler or repair compound to cover deep chips and gouges using a small brush. Lightly sand the repaired area after drying and apply a touch-up paint over the filled-in area.
If the unsightly cracks on your porcelain sink are cosmetic, repairing them is an easy fix that you can handle yourself. However, some severe damage will require the help of a professional for replacement.
What Causes a Bathroom Sink to Crack?
There are various causes to why your bathroom sink may suffer damage like cracks. Below are some of the top reasons for sink damage:
Physical Impact
Heavy impact is another top cause of porcelain sink cracks. While washing heavy objects, you may accidentally drop them into the sink, causing chips and cracks. Tools may also strike the sink basin when doing do-it-yourself plumbing repairs.
Heat Stress
Hairline cracks in porcelain and ceramic sinks are often caused by thermal stress. Since most sinks get layered on metal, a porcelain sink can quickly turn very cold, even if the room is warm metal.
Therefore, introducing hot water to the cold sink can cause thermal stress and crack the sink’s surface. Thermal stress may damage porcelain and ceramic sinks with no metal layer.
Worsening Cracks
Small cracks can spread and widen over time, whether they originate from thermal stress or physical trauma. In addition, any gaps in the sink may become more significant over time due to the additional thermal stress caused by the constant flow of hot water.
How Do You Repair a Cracked Sink?
Minor chips and cracks on bathroom sinks are easy to repair at home. Before starting the repair project, ensure you have the following supplies:
- Water and all-purpose household cleaner
- Washcloth or sponge and towel
- Fine-grit sandpaper (on Amazon)
- Putty knife or applicator brush
- Rubber or plastic gloves
- Face mask
- Sink repair kit (on Amazon)
- Touch-up paint
Below are the steps for repairing a chipped or cracked bathroom sink:
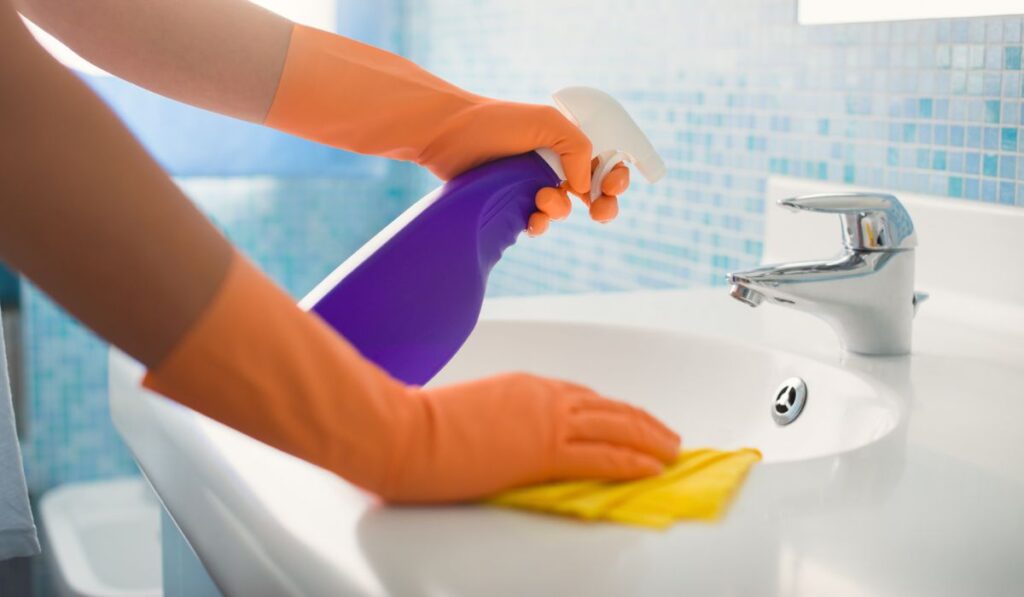
Clean the Sink
Use water, an all-purpose cleaner, and a sponge to clean the sink. This will eliminate residue, grime, and dirt from the sink surface. Next, scrub the sink, dry it with a towel, and let it air dry.
Sand the Damaged Section
Use fine-grit sandpaper to sand the edges of the damaged area lightly. Sanding roughens the surface so the repair mixture can adhere fully. Avoid applying excess pressure, which may worsen the crack or chip damage. Also, ensure not to scratch the surrounding area.
Clean up all the dust from the sanding step using a damp sponge or rag to ensure that the filler sticks to the surface well.
Prepare and Apply the Repair Compound
While some sink repair kits come with pre-mixed epoxy, others come as two-part repair epoxies (on Amazon) that require you to mix two components to create a resin. Wear your gloves and add equal parts of the two substances on a disposable paper plate or cup.
Ensure to read and follow the instructions on your specific kit precisely since the ratio may vary.
You may only need a tablespoon of each epoxy substance for minor repairs like hairline cracks to create enough filler compound. Then, use a putty knife (on Amazon) or applicator brush to fill the crack on the sink’s surface.
If you must apply multiple coats, wait at least five minutes before applying a new layer. Sand the epoxy lightly after each layer dries up to create a level sink surface. Allow the repair compound to dry as per the manufacturer’s guidelines before proceeding to the next step.
Apply Touch-Up Paint to the Resin
Once the epoxy dries completely, apply touch-up paint over the repaired sections. The touch-up color is available in a range of hues to best complement the finish of your sink. In addition, it creates a strong seal over the applied filler and is waterproof.
Manufacturers often recommend how many coats of paint you should apply. However, if the epoxy matches its color, you may not need to touch up the sink with paint.
Which Material is the Easiest to Repair?
Different bathroom sink materials have unique pros and cons. The two most common ones are porcelain and ceramic.
Porcelain is your best bet if you need a simple, budget-friendly sink. They’re tough and durable, allowing use in high-traffic areas. Whereas porcelain sinks often come in basic designs, ceramic sinks come in various styles and colors.
A porcelain sink has more aesthetic appeal than a ceramic one, but repairing the damage may be more challenging and costly. On the other hand, ceramic sinks are easier and less expensive to repair than their porcelain counterparts.
What Does it Cost to Repair a Cracked Sink?
Based on the extent of damage, a sink repair project will cost you approximately $145 to $220. Minor chips and scratches cost less to repair than large cracks. Bathroom cracks also require a longer time and more effort to restore.
The cost of replacing a sink varies widely depending on various factors such as:
- Sink size
- Sink design
- Local labor costs
DIY Repair vs. Hiring a Professional
Cracks and chips in sink basins are typically simple to fix. However, if your sink is dripping due to structural damage, it needs to be replaced by a professional. Consider getting a new sink if the crack is so extensive that you can see right through it.
It is also crucial to control expectations if you are planning a bathroom sink repair minor. You might be able to hide the crack, but the evidence of repair may still be visible up close.
In addition, the surface of a repaired sink repair may not be as smooth to the touch as the rest of the sink when it is finished.
How to Prevent Chips and Cracks on Your Bathroom Sink
Although minor sink damage is easy to repair, the following preventive measures can help extend your bathroom sink’s durability:
- Avoid extreme temperature fluctuations.
- Avoid using hot water to unclog sink drains.
- Avoid leaning on your sink to prevent physical trauma.
- Keep heavy objects like hairdryers and soap dispensers away from the sink.
- Avoid stuffing items under your sink to protect the plumbing.
- Place a protective barrier on your sink during remodeling or when moving heavy objects.
Following the tips above can help minimize the chance of cracks and chips on your bathroom skin.