If you want to take a break from exhausting home improvement projects that seem to take over your home and your life, you can remodel your bathroom without too much fuss. One of the easiest ways to give it a dramatic makeover is with a new coat of paint. So how do you paint your bathroom sink, and what do you need?
To paint your bathroom sink, prepare the surface by cleaning and drying it well. Cut off the water supply and remove the drain plug. Apply two or three coats of paint, allowing the sink to dry and cure completely. Use oil-based paint for the best results.
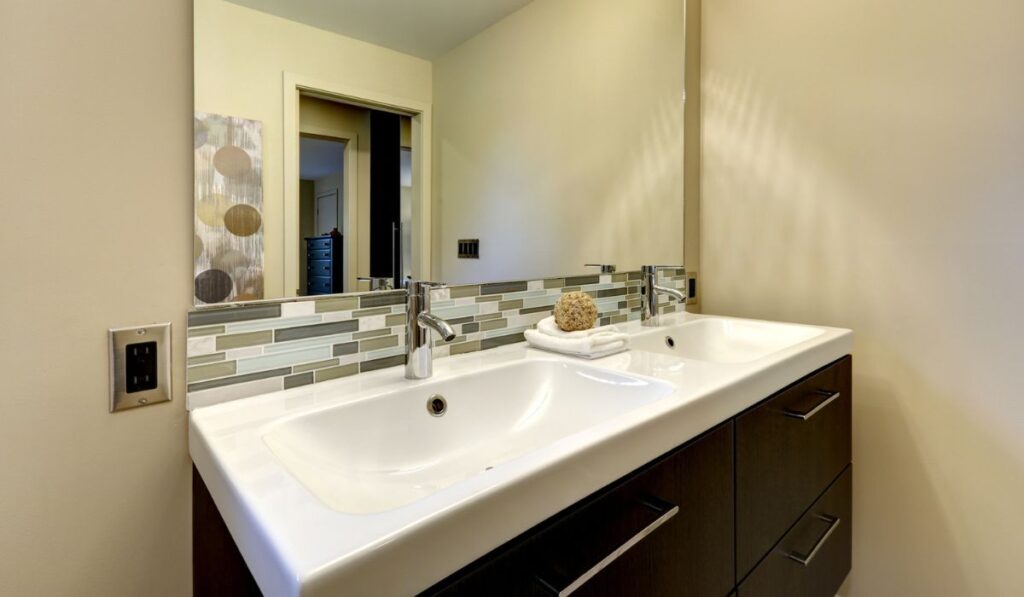
Like most people, you might be hesitant about painting the old ceramic or porcelain sink in your bathroom. However, it’s a more affordable and simple upgrade option that’s worth trying. Plus, you can always do a complete remodel later if you mess things up! Let’s explore how to paint your sink, step by step.
Can You Paint a Bathroom Sink?
You can paint a bathroom sink if you have the right tools and follow the correct steps. If you do it carefully and take proper precaution, you’ll be stunned by how beautiful and durable your newly painted sink turns out.
It’s a great way to do a quick bathroom makeover if you want to test your DIY skills. While the task seems challenging, it’s not as much work as you may imagine. The only part that will consume a bigger chunk of your time is when you’re prepping for the actual painting.
You must ensure the sink is clean, scuffed, and dry for the paint to stick properly and hold out for longer. Moreover, you need a top-quality paintbrush and good epoxy paint to produce a finish that’ll rival that of a pro.
What Kind of Paint Can You Use on a Bathroom Sink?
Home improvement experts recommend you use an oil-based enamel paint like the Rust-Oleum Marine Topside paint (on Amazon). It’s self-leveling and dries well to create a beautiful, hard finish that’s also durable. Plus, you can choose from a wide variety of colors with gloss and semi-gloss options.
If you want a glaze, go for a paint kit that includes the glaze you should mix with a paintbrush. Some people find it a bit tricky to mix these parts and fear they may not get the results they want.
If you’re not sure about the mixing part, you can use ready-mixed spray paint for the sink and countertop.
How Do You Paint an Old Bathroom Sink?
These are the things you need to paint your old bathroom sink:
- Fine-grit sanding pad or fine grade steel wool pads
- Plastic putty knife (on Amazon)
- Degreasing cleaning agent (on Amazon)
- Painter’s tape (on Amazon)
- Microfiber cleaning towels (on Amazon)
- Paintbrush (on Amazon)
- Rust-Oleum Marine Topside Paint (on Amazon)
- Abrasive sponge (on Amazon)
While you may balk at this list of necessary materials, painting your bathroom sink is pretty straightforward. Most of the materials we’ve highlighted above will come in handy for the prepping part.
Here’s a step-to-step guide on painting an old bathroom sink:
Step 1: Remove the Faucet and Drain Covering

Turn off the water supply, then use a screwdriver and basin wrench to take out the bolts on your faucet. Remove the faucet from your sink and repeat the process for your drain cover. This will help you paint the sink well. You should also remove the old caulking around the sink and countertop.
Step 2: Sand the Sink Surface
Sand down the sink surface with 120-180 grit sandpaper to provide a better adhesion surface. You’ll know you’ve got this right when previous glossy finishes look dull. Wipe off the debris with a clean, damp, microfiber towel. Let the sink dry completely.
Step 3: Apply Epoxy Filler to Cracks and Chips
Fill in any cracks and chips with epoxy filler and allow it to dry for the recommended time. Using the fine grit sandpaper, sand the patch smooth once more. Be careful not to scratch the sink.
Step 4: Scrub the Sink to Remove Grease
Clean the sink with an abrasive sponge and degreasing cleaner to remove grease, oil, and hard water deposits. You can use Comet or Lime-A-Way cleaner (on Amazon). And if you can’t find an abrasive sponge, feel free to use fine-grade steel wool. Rinse the sink with clean water and use your microfiber towels to wipe it dry.
Step 5: Cut Off the Water Supply
Close the valves that control the water supply to your bathroom sinks. Wipe off any water drips and allow the surface to dry for about an hour before painting.
Step 6: Mask the Faucet Fixture and Drain Plug
Use painter’s tape to mask the faucet fixture and drain plug. You should also place masking paper on the counter and backsplash, then secure it with tape.
Step 7: Ventilate the Bathroom
Open your bathroom window and run your exhaust fan to ventilate the area. Do this as you mix your painting kit components.
Step 8: Apply the First Coat of Paint
Use a natural bristle paint brush to apply a thin coat of paint to the sink. Go with long, smooth strokes to keep the paint flowing in one direction. Don’t back brush over the drying sections if you’re using self-leveling epoxy paint.
You can easily paint the larger areas using a high-density foam roller. Allow the paint to dry for the recommended time. Even so, the first coat of paint will appear a bit botchy. Don’t go over anything as it dries, or you’ll create a sticky mess.
Step 9: Apply the Second Coat of Paint
Let the first coat of paint dry completely, which could take a couple of hours. If your bathroom is very cold, it’s best to wait 24 hours before applying the second coat.
Carefully apply the second coat of paint using the same procedure as the first one. For best results, you can sand down uneven areas and apply a smoother second coat. You can even paint a third coat if you’re not impressed with the results so far.
However, you should wait for the paint to dry and cure according to the manufacturer’s recommendations.
The paint will no longer become tacky if you’ve allowed it to dry completely. And when it cures, it becomes durable, scratch, and moisture-resistant.
The time it takes to dry may range from a few hours to a day or slightly more. But the cure time may be one week or more, depending on the paint type and temperature of your bathroom.
Wait until the paint cures before you can put the sink to normal use. You can’t go wrong by waiting three days after you’ve applied the final coat.
Additional Tips for Painting Your Bathroom Sink
While painting your sink may initially feel overwhelming, you’ll do a great job as long as you follow the right procedure. You can choose any colors and style to transform the sink into exactly what you envisioned.
Here are the extra tips and tricks that will help you achieve remarkable results when painting your bathroom sink:
Watch Out for Paint Bubbles
Paint bubbles usually occur when there’s excess heat or moisture underneath the paint coat. They’ll make the sink look unattractive, so be sure to ventilate the room properly as you work. You can then sand the areas with bubbles to remove blisters before painting again.
Watch DIY Home Improvement Videos
There are lots of free DIY home improvement videos out there, and you could pick up some additional tips from them. It’s an alternative way of getting insights from the pros without paying the price.