With the cost of hiring a professional rising every day, we’re all looking for DIY approaches to household improvements. The good news is that painting your refrigerator doesn’t have to cost an arm and a leg. You can paint your fridge and make it look just like a pro did it.
In order to paint your fridge, follow these basic steps:
- Unplug the fridge and place a cloth under it.
- Clean and sand the exterior.
- Cover areas you don’t want painted with tape.
- Use a base coat or primer.
- Paint the fridge using a metal-friendly latex-, oil-, or water-based paint.
Apart from sharing valuable tips on how to do a fantastic paint job on your fridge, we’ll also check out the best paints to use and if it’s possible to vinyl wrap your refrigerator.
What Types of Refrigerators Can Be Painted?
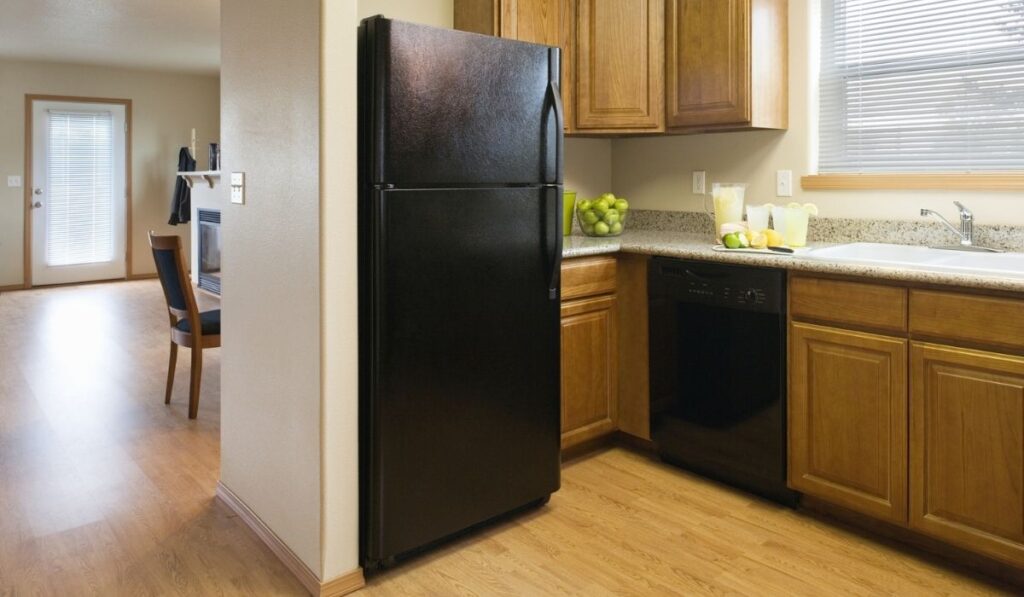
There’s no limit on the type of refrigerator you can paint, but the fact that the surfaces of fridges vary means the ease of painting will similarly differ. Despite this, all you need is the proper preparation, and then painting or repainting your fridge will be a breeze.
One such preparation is to use a primer on the fridge’s surface before applying fresh paint. Some of the most challenging refrigerator surfaces to paint are plastic and stainless, but you can paint both (and get excellent results) as long as you sand the surface and use a primer first.
How Do I Paint My Refrigerator?
When painting your refrigerator, there are basically two options: using a paintbrush or using spray paint. Both methods are easy for anyone to execute, and the only difference is the method of painting. Before discussing how to paint your refrigerator, here are a few things you need to complete the job:
- Roller Brush or Spray Can
- Sanding Paper
- Paper Tape
- Primer
- Paint
- Sealant (not compulsory)
Prepare the Refrigerator
Preparing the refrigerator for painting is the first step to take. Unplug the fridge from the socket and move it to an area that is well ventilated and away from other furniture.
Understand that some of the paint will likely end up on the floor. To avoid staining the floor with paint, place the refrigerator on a cloth or tarp.
If there’s no one around to help you move the fridge, you can raise the refrigerator from one corner and pull the cloth or tarp underneath. Repeat the process until the tarp is entirely under the refrigerator.
Clean Thoroughly
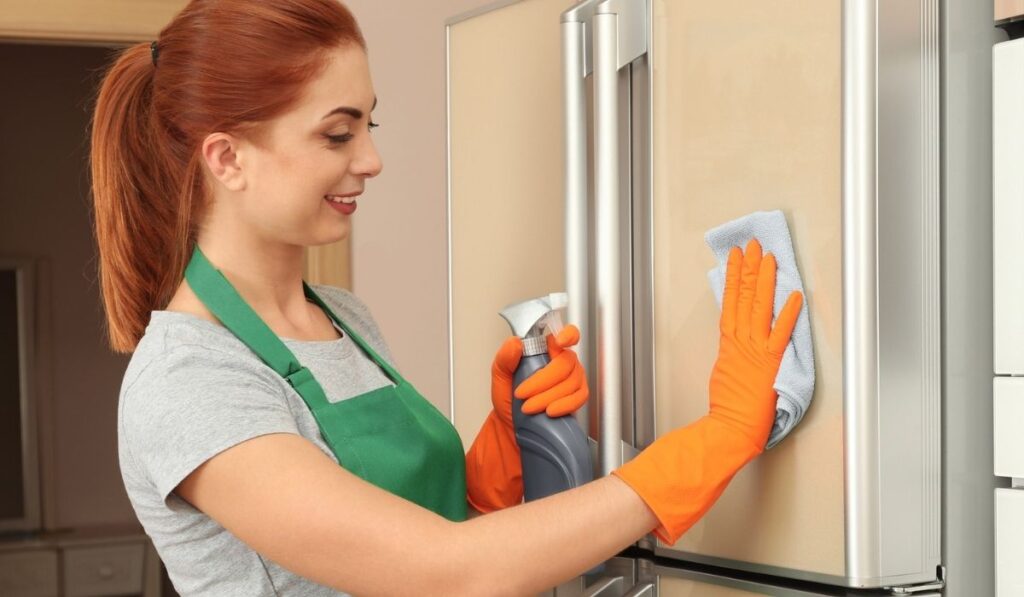
Now that the refrigerator is in place for painting, the next step is to clean it. If you want a neat and long-lasting paint finish, then you have to ensure there’s no dirt, dust, or rust on all the parts of the fridge you intend to paint.
Remove parts like the handles and vent covers so that you can clean all parts of the fridge. You can use soap, water, and a soft cloth. When you’re done washing, let the refrigerator dry. In places with rust, sand thoroughly to remove it.
The best sandpaper or sanding sponge to use for your refrigerator is the 220 grit type (on Amazon). It’s not compulsory to sand the fridge if you think the surface is smooth enough, but if you see that there are things that ordinary washing won’t clean, then sanding is the best way to get rid of them.
Another good thing about sanding your refrigerator body before painting is that it creates grooves for the primer and paint to latch on to. When they latch on, the paint job lasts longer.
Cover Areas You Don’t Want to Paint with Tape
It’s almost time to get to the fun part. But before you start painting, you need to cover up the parts of the fridge that you don’t want the paint to touch. Some of the features you might want to the cover include the water and ice buttons and the handle screw holes. All you need is paper or scotch tape.
Start With a Base Coat or Primer
The first phase of painting is applying a base coat or a primer. A primer helps the paint stick to the fridge quickly. Priming your refrigerator is especially necessary when dealing with complex fridge surfaces that don’t allow the paint to stick easily.
Primers are broadly categorized into three types, depending on their base. There are oil-based, shellac-based, and water-based primers. For surfaces that are difficult for paint to adhere to, use oil- or shellac-based primers.
However, if you’re worried about cleaning up after the painting operation, water-based primers are the easiest to clean. Consider the Zinsser Bulls Eye All Surface Primer (on Amazon).
In case you’re spraying the paint, use an oil-based primer like this Rust-Oleum Gidds Sealer (on Amazon). Spray it on the fridge first. Shake the can for about a minute, so the primer mixture comes out thick. Hold the spray can at a distance of eight to ten inches away from the fridge, and move the can so that there’s no uneven thickness.
After applying the primer, please wait for it to dry and matte. It usually takes at least an hour for the primer to dry.
Paint the Refrigerator
Did you think priming was fun? Well, painting the refrigerator is even better. Pick your favorite color and start painting, either with a brush or a spray can. The best brush for the job is a four-inch roller brush.
Whichever method you use, painting your refrigerator with two coats brings out the best results. Let the first coat dry before applying the next one. If you are going for a dark color, you might have to add more than two coats.
Apply Final Touches
Make sure that the refrigerator is completely dry. You may need to leave it for 24 hours before trying to move it. If you want, you can also paint the handles and the vent covers before reaffixing them for a more aesthetic look for your refrigerator.
You can also seal the paint with a sealant if you want; it protects the color, but it takes longer for the paint to dry.
What’s the Best Paint to Use On a Refrigerator?
There are several types of paint that you can use on your fridge. The most common one for DIY paint is chalkboard paint, such as this one from Krylon (on Amazon). Chalkboard paint is easy to use and gives a great look when you’re done.
Apart from chalkboard paint, you can use appliance epoxy. Other options are latex-, water-, and oil-based stains suitable for metal painting. If you use spray paint, confirm that it works well with metal before purchasing. One of the most popular options is rust-oleum.
Can You Vinyl Wrap a Refrigerator?
Wrapping your refrigerator with vinyl is another way of beautifying it. Some vinyl wraps can be used on virtually any fridge. Vinyl wrapping can last as long as seven years, allowing you to work on custom designs for your fridge.
The major downside to vinyl wrapping your refrigerator is its cost. Usually, painting your fridge is a DIY activity that will not cost more than a hundred dollars. However, a sizable double-door refrigerator might cost several hundred dollars to wrap in vinyl.