If you’re looking to enhance your bathroom sink, you might come across epoxy resin as a popular material used by many DIY enthusiasts. But is epoxy worth applying to bathroom sinks, and does it last?
Epoxy resin is durable and waterproof, which is why it’s ideal to finish or restore your bathroom sink. To start, clean, sand, and prime your sink. Then mix the resin and apply the solution before waiting for it to dry into a hard, polished surface. Two coats should be sufficient.
Let’s take a closer look at how you can epoxy your bathroom sink, what to avoid, and some safety tips to keep in mind during the application process.
What Is Epoxy?
Epoxy is a family of reactive prepolymers and polymers that contain epoxide groups. It’s commonly used to glue two materials together or to give a polished look to dull surfaces. Epoxy is commonly used in refinishing bathroom and kitchen sinks or applied to dull tiling.
Epoxy molecules are highly reactive and harden when cross-linked with other polymers. This cross-linking process is known as “curing,” which gives the epoxy a hardened finish and makes it unreactive to most materials.
If your bathroom sink needs finishing, epoxy is a great option because it’s unreactive and water resistant. However, exposure to epoxy resins may cause allergic reactions and respiratory problems, so you’ll need to be cautious when working with the material.
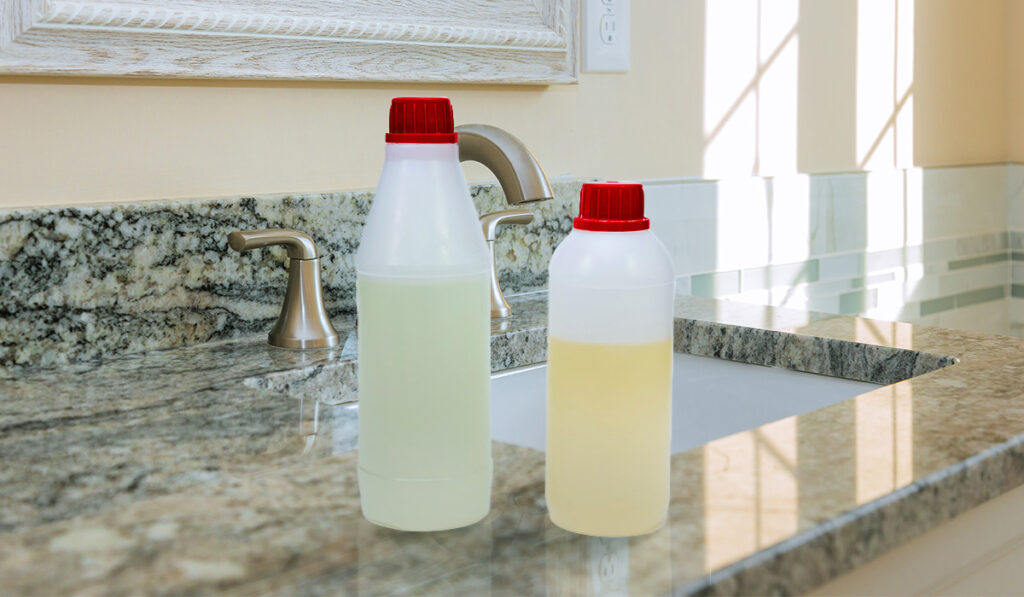
When using epoxy to finish your bathroom sink, you can apply either heat-cured epoxy or 2-part epoxy (on Amazon). Heat-cured epoxy has impressive resilience and is widely used in industrial products like electronic devices and other hi-tech systems.
Two-part epoxy doesn’t require heat to settle, which makes it popular in construction projects and household repairs where you need to glue materials together.
How to Prepare Your Sink for Epoxy
Before applying epoxy to a bathroom sink, you’ll need to prepare the surface, remove any debris, and protect the surrounding area from spillage.
Here are some guidelines to follow when preparing your sink before applying epoxy:
1. Clean the Sink and Surrounding Area
Cleaning your sink with soap and water removes bacteria, dust, and debris, and it will prevent any unwanted disturbance during the chemical reaction of epoxy polymers. With smooth cross-linking, curing becomes stronger and quicker.
If the area around the sink is dirty, the epoxy won’t have a smooth finish, potentially leaving your sink in worse shape than before.
2. Sand the Sink
To allow the epoxy resin to easily adhere to the surface and dry, you’ll need to sand the sink. This will also smoothen the surface and allow the epoxy to even out properly.
Ideally, you should wait for about 90 minutes and let the surface settle after sanding, but you can use a clean cloth to quickly clean the sink if time is limited.
3. Remove Sink Faucets
Before applying a coat of epoxy resin, you’ll have to remove the sink faucets. You don’t need professional plumbing experience to remove the faucets. Simply turn off the water supply to the taps and unscrew the bolts holding the faucets in place.
After removing the faucets, you’ll have to scrape off sealant from the area where they were placed. Make sure the sink’s surface is smooth and that there aren’t any obstructions to applying the epoxy.
4. Use Tape to Make a Boundary
Tape around the sink area where you want to apply epoxy in order to avoid damaging the surrounding tiles or wall. A good boundary will also help you apply the epoxy resin more accurately.
5. Fill Gaps Between the Wall and Sink Top
Gaps between the wall and sink top can cause an uneven finish, which is why you’ll have to fill these before applying the epoxy. You can use silicone sealant (on Amazon) since it’s waterproof, easy to apply, and has a smooth texture.
6. Prep the Sink With a Primer
The final step to prepare your sink surface for epoxy involves applying a primer. Follow the instructions on the bonding primer’s packaging and avoid adding too much primer, or it will affect the epoxy finish.
Wait for the bonding primer to dry thoroughly before applying the epoxy layer.
How to Apply Epoxy
Once the surface is ready, you can start applying the epoxy solution to the sink. If you’ve applied bonding primer, wait a few hours to let it settle and dry before applying the epoxy. However, bonding primer usually dries in less than an hour, so you don’t need to leave it for too long.
When applying the epoxy solution, follow the steps carefully to ensure you get a smooth finish. Let’s begin!
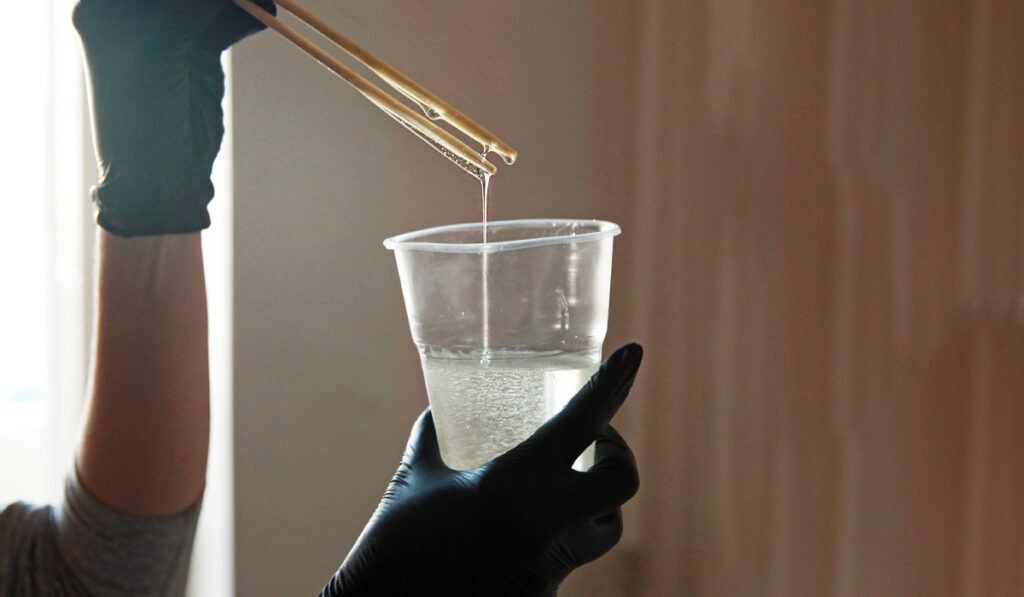
1. Mix the Epoxy Well
Since 2-part epoxy comes with two separate substances that need to be mixed when applied, you’ll have to be very careful when mixing them. First, determine the dimensions of the sink, and calculate the amount of epoxy you may need.
Wear hand gloves and pour each substance into a single bottle or steel bowl. Mixing the substances well will ensure correct cross-linking between them and thus increase their strength and durability.
Always mix the right quantity of each substance as specified on the epoxy resin packaging to achieve a balanced finish.
2. Apply the First Coat
Next, use a paintbrush to apply the first epoxy coat from the bottom of the sink. Make sure to apply the coat evenly over the entire sink, but it doesn’t need to be perfect, since you’ll do another coat later.
3. Let It Dry
Wait at least 24 hours to let the first coat of epoxy dry well. However, you may continue within 8-12 hours if you’ve cleaned and dried the sink well.
Remember, the longer you let the epoxy settle, the stronger it becomes, so try to wait a few extra hours, even after the first coat is dry.
4. Apply the Second Coat
Once it’s properly dried, it’s time to apply the second coat of epoxy. This time, carefully fill the holes and the remaining parts that were missed in the first coat. Also, check that the epoxy solution is applied evenly and avoid focusing more on certain areas.
5. Leave It to Cure
Professionals recommend leaving the epoxy for about 72 hours to cure. However, the ideal curing time depends on the type of epoxy and the material of your sink. This step will give strength to the epoxy and make it more durable.
6. Use a Torch to Remove Bubbles
Bubbles usually form during this process, and you’ll need to quickly run a propane torch to remove these bubbles. Keep the flame about 8’’ from the vanity to secure its paint. Be careful during this process, especially if you don’t have prior experience with a propane torch.
7. Sand the Sink
Finally, sanding will help you remove the bubbles and rough spots and will smooth down the sink surface to give it a wonderful feel. Sand the sink very lightly using fine grit sandpaper (on Amazon) and only go over the surface once.
Your epoxy-coated sink should now be complete.
Safety Tips to Keep in Mind
Epoxy can be dangerous, and breathing in fumes created by epoxy mixtures can cause severe health problems. Always keep these safety tips in mind when applying epoxy to your bathroom or kitchen sink:
- Mix epoxy substances cautiously: Always mix the epoxy slowly, and be careful that the mixture doesn’t touch your skin. Wear gloves and use a paint mixer.
- Avoid spilling the epoxy mixture: Place a clean cloth under the mixer bucket or bowl so that the epoxy mix doesn’t fall onto the floor. Also, take special care not to mess with epoxy on the walls when applying it to the sink.
- Wear a mask: Wearing a mask will protect you from inhaling harmful fumes.
- Ensure proper ventilation: Proper ventilation will also protect you from the toxic fumes that the epoxy chemical mix may give off.
- Be careful with the blow torch: When using a blow torch to set the epoxy mixture, take extra care not to burn yourself. If you don’t have experience using a blow torch, call a professional.